
If you have ever opened a makeup counter or a beauty video and felt overwhelmed, you are not alone. Brushes, palettes, primers, contour sticks and highlighters can make makeup look like a complicated art form reserved for professionals. The good news is that a fresh, polished appearance does not need a long routine or a huge kit. This guide to everyday makeup for beginners keeps things simple, natural and quick. In just five minutes and with a handful of products, you can look awake, healthy and confident.
We will cover the basic kit to buy first, how to prepare your skin, a step-by-step five-minute routine, how to choose shades, easy blending techniques, tips for different skin types, common mistakes and how to remove makeup safely. Take it slowly, practise a little each day and enjoy the process.
The Mindset: Makeup Is Meant to Enhance, Not Cover
Before touching any product, remember that makeup is a tool, not a requirement. The goal of everyday makeup is to even out small imperfections, add a little colour and highlight features you like. You are not trying to change your face or copy someone else’s look.
Start light. It is always easier to add more product than to remove it. A natural look also tends to last better, feel more comfortable and suit daily activities like work, college and errands.
The Beginner’s Makeup Kit
You do not need dozens of items. Begin with these essentials and add more only when you feel ready.
- Sunscreen or tinted moisturiser: Protects your skin and provides light coverage.
- Concealer: Covers dark circles and blemishes.
- Kajal or eyeliner pencil: Defines eyes quickly.
- Mascara: Makes lashes look fuller and eyes brighter.
- Cream blush: Adds a healthy flush and is easier to blend than powder.
- Tinted lip balm or lipstick: Gives colour and keeps lips soft.
- Brow gel or pencil (optional): Tidies eyebrows.
Useful tools:
- A damp makeup sponge for blending base
- A small fluffy brush for blush and powder
- A concealer brush or clean fingertip
- An eyelash curler
- Clean tissues or cotton pads
Step 1: Prepare Your Skin
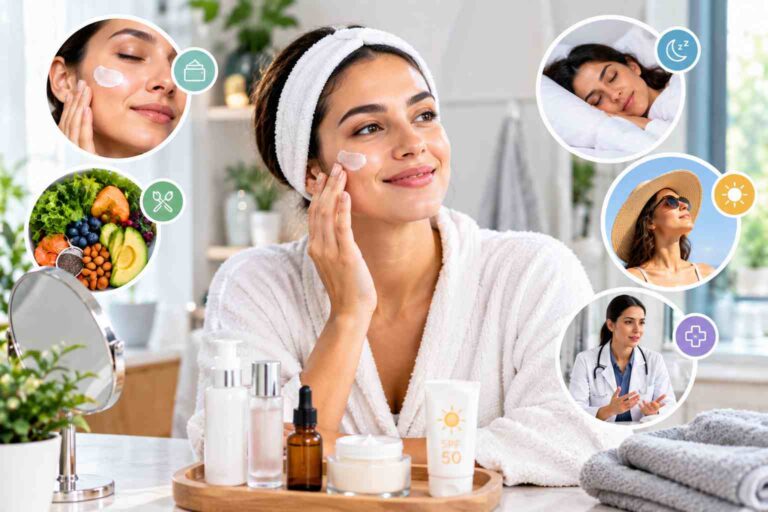
Makeup looks best on well-prepared skin. Even in a hurry, do these basics.
- Cleanse. Wash your face with a gentle cleanser suited to your skin type.
- Moisturise. Apply a light moisturiser. Dry skin needs a richer cream; oily skin does better with gel-based formulas.
- Apply sunscreen. Use broad-spectrum sunscreen with at least SPF 30 every morning, even when staying indoors near windows. Wait a minute or two before makeup.
Skipping preparation can lead to patchy foundation, dry flakes and a dull finish. If your skin feels dry, gently massage the moisturiser in and let it absorb fully.
The Five-Minute Routine, Step by Step
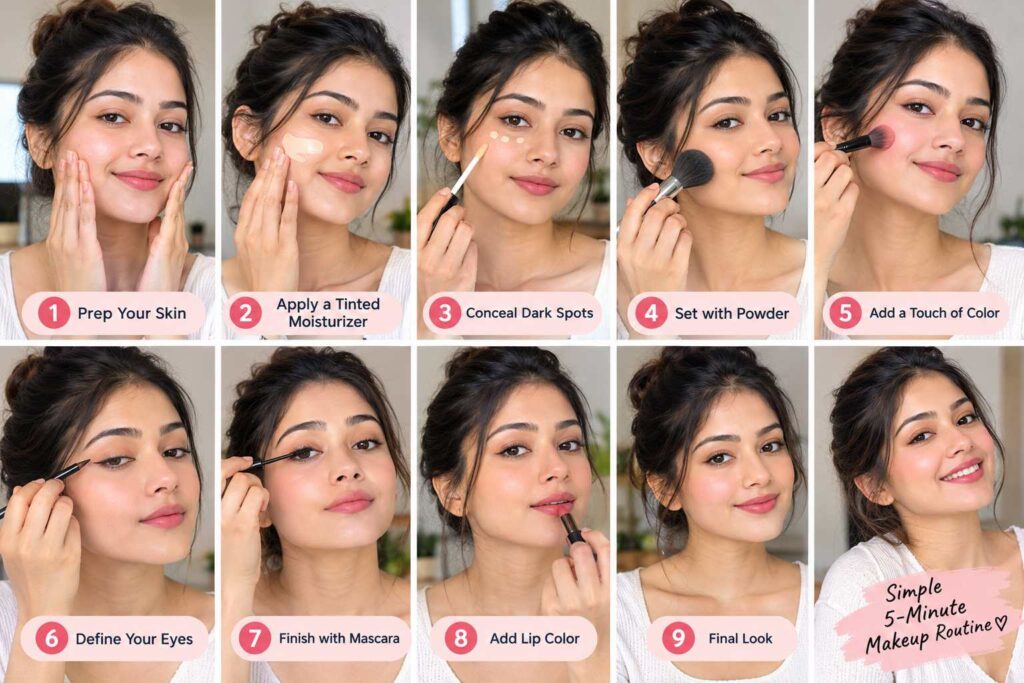
Set a timer if it helps. You will quickly become faster with practice.
Minute 1: Even Out the Base
Skip heavy foundation. Take a small amount of tinted moisturiser or skin tint and dot it on your forehead, cheeks, nose and chin. Blend with a damp sponge or clean fingers using gentle tapping motions. Tapping rather than rubbing gives a smoother finish and prevents streaks.
If you are using only sunscreen, that is perfectly fine. Move on to concealer.
Minute 2: Conceal Only What Needs Covering
Apply concealer under the eyes in a small triangle shape, on any blemishes and around the nose if there is redness. Pat gently with your fingertip or brush. Avoid dragging the product. Use only a little; too much concealer can crease and look heavy.
Minute 3: Define the Eyes
Curl your lashes gently by pressing the curler at the base for a few seconds. Then apply kajal along the upper lash line or waterline as comfortable. If kajal feels difficult, dot it between the lashes with short strokes. Finish with one or two thin coats of mascara. Wiggle the wand from the base to the tips to avoid clumps.
Minute 4: Add Colour to the Cheeks
Smile lightly and dab cream blush on the apples of your cheeks. Blend upward toward the temples using fingertips or a sponge. Build slowly. A soft flush makes you look fresh, rested and youthful.
Minute 5: Finish with Lips and Brows
Apply a tinted balm or a soft lipstick shade, pressing your lips together to spread it evenly. Then comb your eyebrows upward with a brow gel or a clean spoolie brush. If you want more definition, fill in sparse areas with light, feathery strokes.
Check your face in natural light. Blend any harsh edges with your fingertips, and you are done.
How to Choose Shades That Suit You
Shade matching often confuses beginners, but a few simple guidelines help.
Base Shade
- Test on your jawline or the side of your face, not on your hand, since hand colour can differ from face colour.
- Check the shade in natural daylight. Store lighting can be misleading.
- The right shade should disappear into your skin without leaving a visible line.
Undertones
Look at the veins on your wrist. Greenish veins often suggest warm undertones, bluish or purple veins often suggest cool undertones, and a mix suggests neutral. Undertones influence which blushes and lip colours look best.
- Warm undertones: Peach, coral, brick, warm brown and terracotta shades.
- Cool undertones: Rose, pink, berry, plum and mauve shades.
- Neutral undertones: Many shades work, including soft pinks and nudes.
Blush and Lip Colour
If you are unsure, choose a colour close to the natural flush of your cheeks or lips when slightly pinched or after light exercise. This creates a believable, natural effect.
Makeup Tips by Skin Type
Oily Skin
- Choose lightweight, oil-free and non-comedogenic products.
- Use a gel moisturiser and a mattifying sunscreen.
- Set the T-zone with a light dusting of translucent powder.
- Carry blotting papers to absorb shine without disturbing makeup.
Dry Skin
- Moisturise well before makeup.
- Choose cream or liquid products instead of powders.
- Avoid too much powder, which can emphasise dryness.
- Keep lips hydrated with a balm.
Combination Skin
- Use different products where needed, such as powder on the T-zone and cream on the cheeks.
Sensitive Skin
- Choose fragrance-free products and patch test new items.
- Avoid unnecessary layers.
- Stop using anything that causes burning, redness or itching.
Acne-Prone Skin
- Look for non-comedogenic labels.
- Do not pick or squeeze blemishes before applying makeup.
- Clean tools regularly and remove makeup thoroughly each night.
- Consult a dermatologist if breakouts are severe or persistent.
Easy Blending Techniques
Blending is the difference between makeup that looks natural and makeup that looks patchy. Keep these techniques in mind:
- Tap, do not rub. This keeps product in place and avoids streaks.
- Blend edges. Softly diffuse the edges of concealer, blush and eyeliner.
- Use a damp sponge. It melts creams into the skin for a skin-like finish.
- Work in thin layers. Two light layers look better than one heavy layer.
- Check in natural light. It reveals unblended patches.
Simple Looks to Try Once You Are Comfortable
The No-Makeup Makeup Look
Skin tint, light concealer, mascara, cream blush and lip balm. Fresh and quick.
The Office Look
Add a neutral eyeshadow or a slim line of kohl, a soft peach or rose lipstick and a little powder to control shine.
The Weekend Brunch Look
Use a light highlighter on cheekbones, a warm coral blush and a tinted lip gloss for a healthy glow.
The Evening Look
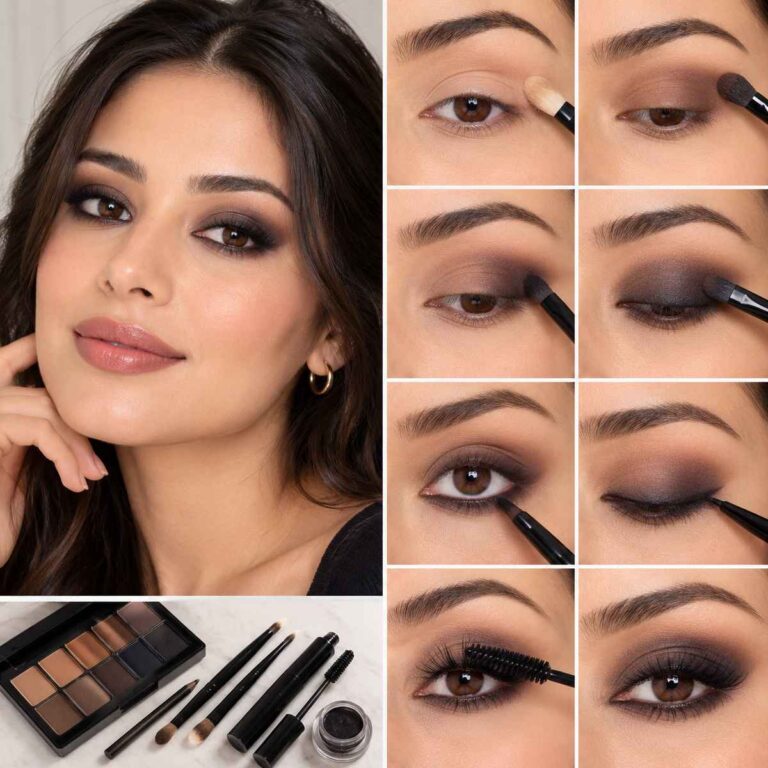
Add smudged kohl or a soft shimmer on the eyelids, a bolder lip colour and a touch more blush.
Common Beginner Mistakes and How to Fix Them
- Using too much product at once. Start with a tiny amount and add slowly.
- Skipping sunscreen. Makeup does not replace daily sun protection.
- Wrong shade selection. Always test on your face and in daylight.
- Not blending. Harsh lines look unnatural.
- Applying makeup on dry, unprepared skin. Hydrate first.
- Using old or expired products. Bacteria can grow in old makeup, especially mascara and liquid products. Replace mascara every three to four months.
- Sharing makeup. This spreads bacteria and infections.
- Sleeping with makeup on. It can clog pores and irritate eyes.
- Dirty brushes and sponges. They can cause breakouts.
How to Remove Makeup Safely
Removing makeup properly is as important as applying it.
- Use a gentle makeup remover or cleansing balm. Massage it over your face, especially around eyes, and wipe or rinse.
- Take care around the eyes. Hold a soaked cotton pad on closed eyes for a few seconds, then wipe softly instead of scrubbing.
- Wash with a mild face cleanser. This removes remaining residue.
- Moisturise. Follow with your night cream or a light moisturiser.
Do not use harsh rubbing, which can irritate the skin and damage lashes.
Cleaning Your Tools
- Wash brushes weekly with mild shampoo or brush cleanser and lukewarm water.
- Clean sponges after each use or at least a few times a week.
- Let tools dry completely before storing.
- Replace sponges every few months.
Clean tools help your makeup apply smoother and protect skin health.
Smart Shopping Tips for Beginners
- Buy one product at a time and learn to use it.
- Read ingredient lists if you have sensitive skin or allergies.
- Try samples or testers when possible, following hygiene practices.
- Look for multi-use products like cream blush that can double as lip colour.
- Do not chase trends. Choose shades and formulas that suit you.
- Check expiry symbols on packaging.
- Compare prices, since good products exist at many price points.
Confidence Tips
Makeup can be fun, but self-confidence comes from within. Practise in the mirror on weekends, take photos in natural light to see how the look appears and remember that everyone begins as a beginner. Celebrate small improvements, and do not compare yourself to filtered images online.
Makeup for Different Occasions and Weather
Your routine should adapt to the situation, because a look that works in an air-conditioned office may not survive a humid afternoon or a long outdoor event.
Hot and Humid Days
Choose lightweight, water-resistant or long-wear formulas. Skip heavy creams and thick foundation, which can slide and look patchy in humidity. Waterproof mascara and a smudge-proof kajal are especially useful. Use a gel-based sunscreen and set only the areas that get oily, such as the forehead, nose and chin, with a tiny amount of translucent powder.
Cold and Dry Weather
Skin needs extra moisture. Use a richer moisturiser and a hydrating skin tint. Cream blush and a lip balm underneath your lipstick prevent flaking and dry patches. Avoid too much powder, which can emphasise dryness.
Long Workdays
Keep a small touch-up kit in your bag with a lip colour, blotting papers, a mini concealer and a compact mirror. A quick refresh after lunch keeps your look tidy without redoing everything.
Photos and Video Calls
Sit facing a window for soft natural light. Add a little extra blush and a defined brow, since screens and cameras can wash out colour. Avoid heavy powder, which may look chalky on camera.
Frequently Asked Questions
Which product should I buy first?
A good concealer or tinted sunscreen, a mascara you like and a lip colour you love are excellent starting points.
Do I need foundation for everyday makeup?
No. Many people prefer a skin tint or only concealer. Foundation is optional.
How often should I clean my makeup brushes?
Wash face brushes and sponges at least once a week, or more often if you have acne-prone skin.
Can I wear makeup every day?
Yes, as long as you remove it at night, keep your tools clean and choose products suitable for your skin.
Is expensive makeup better?
Not necessarily. Suitability for your skin, shade match and comfort matter more than price.
How long should makeup last during the day?
With good preparation and a light setting powder where needed, everyday makeup can last through a normal workday. Carry a lip product and blotting paper for touch-ups.
Final Thoughts
Makeup should feel like a fun form of self-expression, not a source of pressure. With a small kit, a simple five-step method and gentle blending, everyday makeup for beginners can be quick, comfortable and flattering. Prepare your skin, apply light layers, choose shades that suit you and always remove makeup at night.
Try the routine tomorrow morning with a timer. Over a week, you will notice your speed and confidence improving. Soon, your five-minute routine will feel natural, and you will have a reliable everyday look that makes you feel like the best version of yourself.